
If the washing machine motor does not want to start or starts with difficulty, the problem may lie in the capacitor. However, due to the fact that the part is located on the control board, its inspection and, if necessary, replacement will not do without first disassembling the entire washing machine panel. Let's consider how to diagnose and replace the capacitor in the washing machine.
Everything is quite simple here. You can clearly hear that the machine is starting the engine, but the drum is barely spinning, or is completely standing still. If everything is really bad, the washing machine does not even respond to the start button, and the indicator lights on the control panel flicker chaotically and asynchronously, indicating a malfunction. Another sign of a broken capacitor is the unidirectional movement of the drum (only in one direction).
If one of the above signs matches the behavior of your washing machine or you have even the slightest suspicion of problems with the capacitor, you must first inspect it and then, if a problem is found, replace the part.
Even when dismantling a washing machine involves simply removing the dashboard, no one has cancelled careful preparation for the process. There is something to tighten, something to replace, so you can’t do without a comfortable workplace. The main thing is not to forget about safety precautions during repairs! And even a novice “master” can handle the preparatory actions.
At this point, the preparation can be considered complete. Now, feel free to proceed with the inspection. Dismantling the dashboard requires removing the top cover of the washing machine. To do this, unscrew the bolts holding it in place at the back, then lift the cover and move it away from you a little. The control panel bolts are located in the area of the niche from the dispenser. Loosen the screws, then look at the latch on the left in the upper corner of the CM body, do the same with it. Next, dismantle the bolts holding the panel from above, then you just need to lift the part and remove it.
However, there are some complications. Do not make any sudden movements, otherwise you risk breaking the wiring or damaging something else. Also, remember that the intake valve is equipped with a wire connection that needs to be loosened. Finally, mark the wires so that you do not mix up the connectors during subsequent assembly, or take a photo.
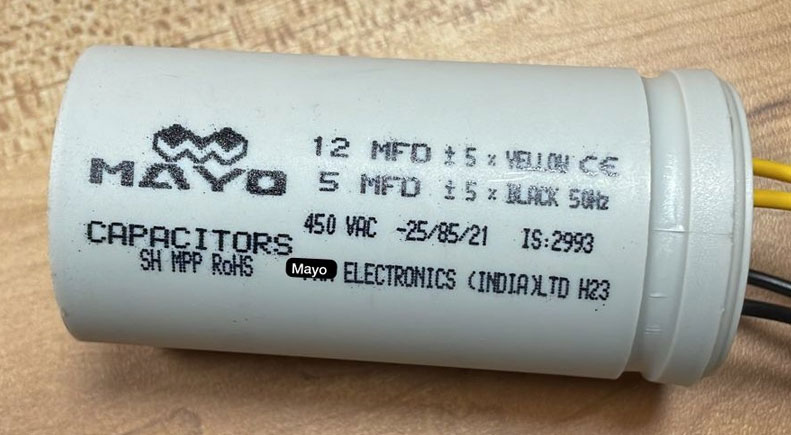
The control board is attached to the module body with small screws. After unscrewing them, you can remove the board itself. Now all that remains is to find the "hero of the occasion" - the capacitor and inspect it for damage and replace it if necessary.
To objectively evaluate the performance of the part with your own hands and for greater convenience, it is better to separate the capacitor from the board. This way the indicators will be more accurate. Now you can proceed directly to the test.
While the probes are connected to the capacitor's legs, its resistance increases until it reaches its maximum.
Now let's decipher the results. If, when connecting the multimeter probes to the terminals of the part, it starts beeping, then there was a short circuit that caused the breakdown. If the multimeter arrow immediately pointed to "1", then there was a break inside.
Replacing a faulty capacitor is easy. Since the old one was unsoldered from the board, you just need to solder the purchased analog in its place. People who have minimal soldering skills will not find this task difficult.


Copyright © 2020 Coimbatore Service.