
It is clear that replacing the rubber seal in the washing machine is a procedure that some users may never encounter, while others will change the part once a year. This is due to the fact that usually the cuff on the Bosch Maxx 5 washing machine needs to be changed either due to natural wear of the element as a result of active use, or due to banal carelessness of the user who left a sharp object in the drum.
Regardless of the cause of the damage, it is necessary to change the element without delay, because with a damaged cuff the system will not be hermetic, which means that the owner of the home assistant risks damaging the floor covering, as well as flooding the neighbors below. We will tell you how to do it correctly at home.
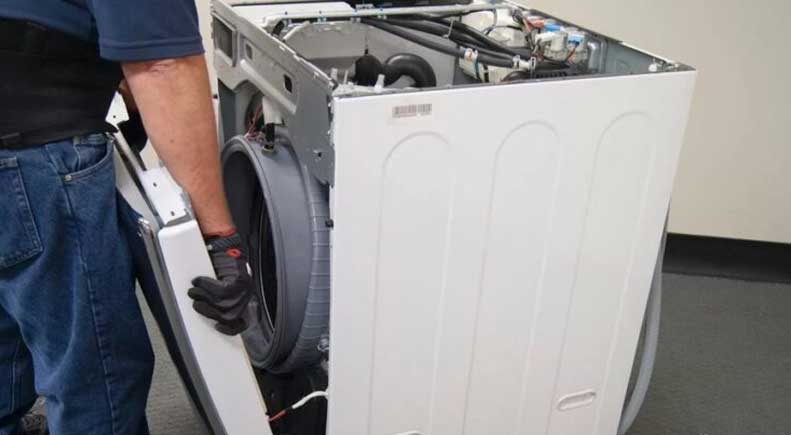
The procedure for replacing the cuff does not take much time and does not require any special equipment or special skills, so any user can cope with this task. Especially if he follows our detailed instructions. First of all, you need to find and buy a new rubber seal that will perfectly fit your household appliance. The easiest way is to remove the damaged cuff to take it to the store as an example.
If you do not have a cuff on hand, then to make the search easier, you can tell the sales consultant the name of your Bosch washing machine. The exact model name can be found in the user manual, as well as on the sticker located on top of the SM hatch. It is better to take a photo of the factory nameplate so that all the necessary information is always at hand.
After purchasing a spare part, you need to prepare a basic set of tools that can be found in any home. It includes only an ordinary minus screwdriver, pliers, and soap with a sponge. Having prepared all this, proceed to dismantling.
The damaged element is very easy to remove if you know the process well. The cuff is fixed in the housing with two plastic rings, so to dismantle it is necessary to remove the outer and inner clamps secured with latches. How to do it?
Once you have the element in your hands, examine it carefully. This will help you understand the cause of the damage so that you can prevent such a situation from occurring in the future. After the analysis, you need to start replacing the cuff.
Unlike the previous stage of dismantling, this may cause some difficulties for beginners. This is due to the fact that installing a new cuff is much more difficult than dismantling a damaged one. Firstly, you need to be more careful not to accidentally damage the part, and secondly, it requires much more force to place the rubber seal on the seat. What to do for this?
First, thoroughly wash the groove with a sponge and soap. This will remove all dirt and foreign objects that may have gotten there. However, you should not remove the soap solution later, because the foam will simplify the installation of the rubber element.
After this, the home assistant will be restored and ready for fruitful work. Run a test work cycle and watch it carefully to make sure the system is tight. Any short program, such as Rinse, will do well for this. If the work cycle goes without any problems, then the repair is completed successfully.
Of course, replacing the cuff takes no more than an hour, even taking into account the time spent on going for a spare part. However, it is better to avoid frequent disassembly of the equipment, especially since the rubber seal can last as long as the washing machine itself - about 10-15 years. Therefore, it is better to take care of this element, like any other unit of household appliances. To do this, you should know the main causes of damage to the cuff.
As you can see, the rubber part can be damaged due to many reasons, so you should handle your home assistant very carefully so that it does not break down prematurely. Compliance with standard precautions extends the service life of the cuff and the washing machine itself not even by months, but by years. Therefore, if you notice the first signs of damage to the rubber seal, you should start repairing it as soon as possible to prevent more serious consequences and money costs.


Copyright © 2020 Coimbatore Service.