
LG washing machines have disadvantages, one of which I will discuss in this article. During their use, such a defect often occurs - water flows from the powder compartment of the washing machine. You can cope with this problem yourself, without resorting to outside help. It is not difficult, does not take long and does not require special skills and knowledge or special qualifications. Contacting the service department in such a situation will cost a pretty penny, so in order to save money, we will do everything ourselves completely free of charge.
Before repairing the car, you need to understand the cause of the problem and localize it. A leak in the washing machine powder receptacle may be a manufacturing defect or may occur over time due to abrasion of certain parts. Leaks can appear in various places, namely:
There is one peculiarity here. This corrugated tube is positioned so that its lower part slides over the balancing stone and rubs against it, causing a hole to form. It is possible that this was done intentionally.
Before we begin the repair itself, we will prepare everything that may be needed. Nothing special is needed. Usually everything you need is available in every home. You will need these tools:
In addition, you will need silicone sealant or car sealant. You may also need a new tray, because not everything can always be repaired; sometimes you must replace it. But you shouldn’t stock up on them; it’s better to understand whether there is a need for it or whether you can repair the old one.
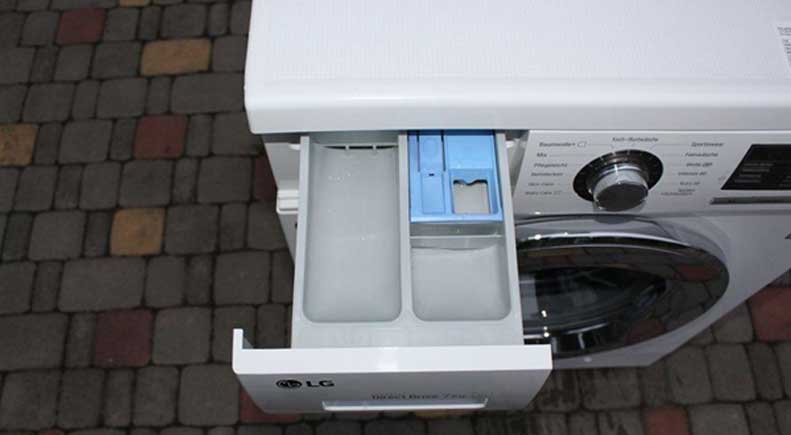
First, try to determine the place where the tray is leaking. But don’t be discouraged if you can’t immediately figure out where the tray is leaking. You will certainly find out this when you disassemble the machine.
Open the powder compartment, press on the central compartment and take out the drawer. Using a Phillips screwdriver, unscrew the screws that secure the tray. Now let's work on the cover of the machine. On the back wall we find the screws that hold it in place and unscrew them with the same Phillips screwdriver.
The lid was opened. Now we remove the hoses coming from the tray (there are 4 of them). Immediately visible are only 2 hoses through which water flows, attached to the back of the tray. Another one, for air removal, is fixed to the right, it is also not difficult to find. You will see the fourth hose, a thick corrugated tube, on the left side by slightly moving the tray to the right. He then rubs against the stone.
To remove the hoses, use pliers to move the clamps, after which the tubes can be easily removed. Then we pull out the tray itself. We carefully inspect all removed parts. If there is scale somewhere, remove it with water and a cleaning agent, this will allow the machine to work longer.
If a thick hose is worn out, you will have to order it from a service center. You can't fix it yourself. To prevent this from happening again, craftsmen advise sealing the stone with a thick layer of cellophane or soft plastic in the area of contact with the hose. After this, it is better to fill this place with sealant so that the structure holds better. Now we open the compartment, using a flat screwdriver to move away the clamps to process the joints. Having opened the compartment, we spray the seams with sealant to eliminate the leak.
After all these procedures, we assemble the machine in the reverse order. One more tip. Align the machine so that it is level and vertical using a level. Or at least eliminate the forward bias. These simple steps can also help get rid of the leak.


Copyright © 2020 Coimbatore Service.