
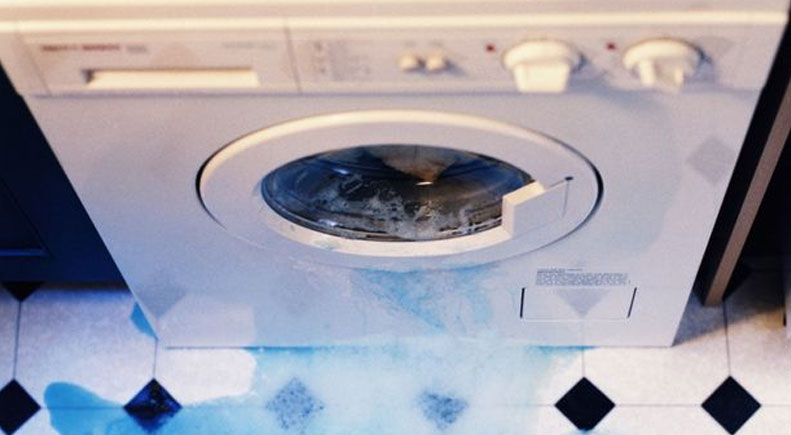
A tank leak is one of the most dangerous breakdowns for an automatic machine. In some cases, this failure can be fatal. It is easy to recognize a leak - water will constantly accumulate under the device. However, finding the place of the leak causes great difficulty for users.
The washing machine tank often leaks due to worn bearings or an oil seal. In this case, solving the problem will be quite simple. However, if the matter is damaged to the wall of the plastic container, then the repair will be more serious. So let's take a look at the nuances.
Problems with tanks of automatic machines happen more and more often. If the rules for operating and transporting washing equipment are not followed, the likelihood of damage to the tank increases. Modern washing machines are mainly equipped with plastic containers, so you must handle them carefully.
What to do when you find a leak? First of all, it is necessary to identify the cause. Suppose the washing machine tank leaks due to broken bearings or an old oil seal. Replacing components will help. When it comes to damaging the walls, you have to be smart.
Washing machine repairers have been fixing cracked plastic tubs for a long time. The defect is sealed, and the machine stops leaking. However, no one guarantees such repairs since the treated area may again begin to let water through.
he ideal solution to the problem is to replace the tank-drum assembly. However, spare parts are quite expensive, and not everyone can afford such a purchase. Therefore, the user must decide whether to solder the crack or purchase new components.
To understand why the tank of the automatic machine is leaking, the container will have to be removed from the body and inspected. Before starting work, turn off the power to the washer, and turn off the valve responsible for the water supply. Also, prepare the tools required: pliers, slotted and Phillips screwdrivers, a screwdriver, and a set of socket heads. The further algorithm of actions will be as follows:
Now nothing will interfere with the excavation of the tank. First, remove the assembly from the shock absorbers and remove it through the top of the housing. Next, you will have to scrutinize the tank.
If it's not the bearings, most likely the tank is leaking along the seam, or cracks have appeared on its walls. You can solder holes in the plastic with a hot air gun and plastic solder. The cost of such repairs will be small. You can buy a pack of bars for 2000-3000. The amount of material that will have to be used depends on the size of the damage on the container.
In addition to the building hair dryer itself, you will need the following:
Mechanic involved in the repair of washing machines are advised to purchase HDPE-plastic welding rods. They are best grasped with the tanks of machine guns. Therefore they are suitable for local repairs of this kind.
The algorithm of actions for sealing a crack in the tank will be as follows:
When the tank flows along the seam, process it this way along the welding line. This may take about 10 bars. If you consider that there are 40 of them in the package, then you won't have to buy an additional pack.
There is another way to fix a hole in a plastic tank - using a soldering iron. This method is suitable when the crack is small. In general terms, the algorithm of actions will be as follows:
Find a piece of plastic that is similar in quality to the material from which the tank is made (the mechanic even saw off a small piece from the same SMA tank in a place where its absence will not affect the operation of the device in any way),
When finished with assembly, run a test wash. If the machine stops leaking, then the problem can be considered fixed. However, during further operation, it is necessary to monitor the condition of the home assistant and prevent foreign objects from entering the washing drum.


Copyright © 2020 Coimbatore Service.