
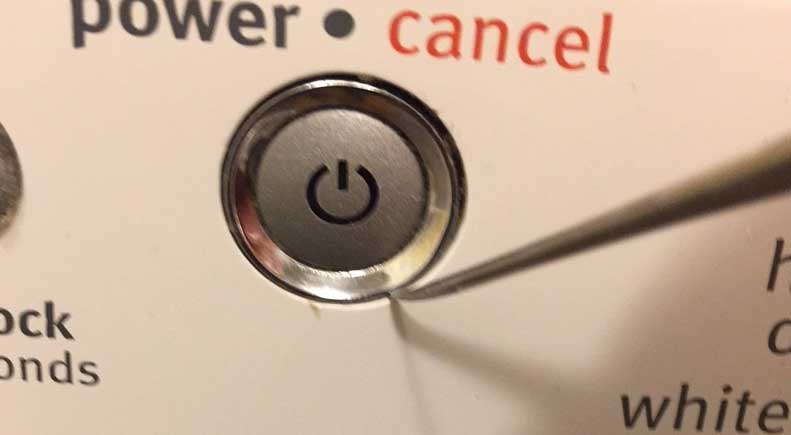
Button control panels for washing machines are becoming less and less popular due to the emergence of more advanced mechanisms, and due to the fact that the buttons tend to sink. And if the sinking of the auxiliary key can be experienced painlessly, then when this happens with the power button, you can forget about the normal operation of the machine. Let's figure out what to do if the power button on the washing machine is stuck?
The main reason for sticking buttons in the SM is depreciation. The longer and more actively you use the machine, the more often you will encounter the fact that one or another element, sometimes critical for normal functioning, fails. The power button is particularly susceptible to keyboard damping, as of all the buttons, it is obviously the one that is used most often.
Another possible reason is poor quality plastic. The worse the material, the more the buttons are prone to deformation and falling from frequent pressing. In such cases, as a rule, a complete repair of the keys is required. Also, the keys often begin to sink after handicraft repairs or manufacturing defects. Incorrect installation leads to a conflict between the elements of the typewriter, which can manifest itself as sticking keys.
Finally, it is easy to break something inside the machine if it is not transported correctly, if it is dropped, or if the unit is subjected to an impact. In this case, anything can fail, including the keys on the control panel.
In any case, it is important to deal with the problem and fix it, otherwise the machine will constantly restart with the risk of not turning on at all one day.
Before making repairs, you need to find out what is the cause of the problem. You can solve the problem of sticking keys on your own only if the grooves are clogged. We will have to partially dismantle the machine, namely its top cover and front panel. The cover is easy to remove, you just need to unscrew the screws. Then the procedure will be like this:
If everything is in order, the board can be put aside and return to the plastic panel. On its reverse side, parallel to the buttons, there is an oblong metal part. It will also have to be removed. Having removed it, we remove the plastic plate following it and get access to the buttonholes.
After drying the keys, you need to check if everything works. For the initial test drive, it is not at all necessary to assemble the SM completely. First, assemble the control panel itself and try pressing the buttons directly on it. If everything moves, you can make the final installation, connect the wires, start the unit and watch the results of your work in action. If the problem of sinking has not been resolved, consultation of the master will be required.


Copyright © 2020 Coimbatore Service.